Delving into the advanced landscape of Adobe Lightroom, we uncover the potential it holds for enhancing one’s architectural photography practices. This software serves as a powerhouse platform, where every tool is designed to bring out the best in your images.
Our focus here will be on understanding Lightroom’s interface, its key functionalities, and especially the creative application of presets for architectural images. As opposed to merely importing and organizing your photos, you will be submerging into the details of creating, managing, and fine-tuning presets.
Hence, as you journey through the nuances of Lightroom, you’re stepping into a realm that combines technical accuracy with artistic liberty, deepening your connection with architectural photography on a whole new level.
UNLIMITED DOWNLOADS:50+ Million Lightroom Presets & Design Assets
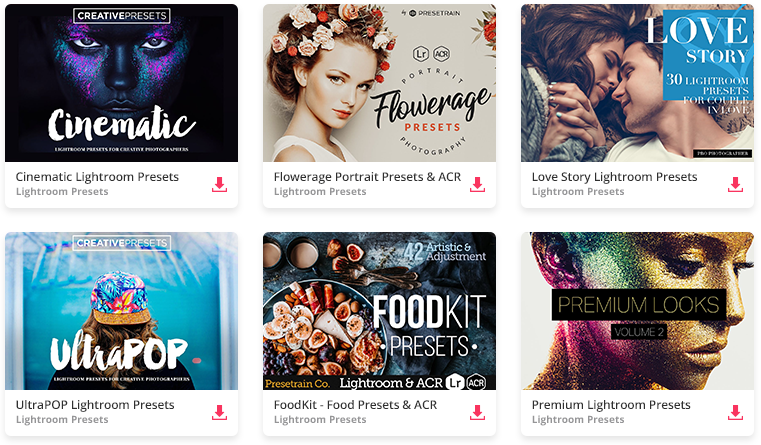
All the Lightroom Presets you need and many other design elements, are available for a monthly subscription by subscribing to Envato Elements. The subscription costs $29 per month and gives you unlimited access to a massive and growing library of over 50 million items that can be downloaded as often as you need (stock photos too)!
Learning Lightroom Basics
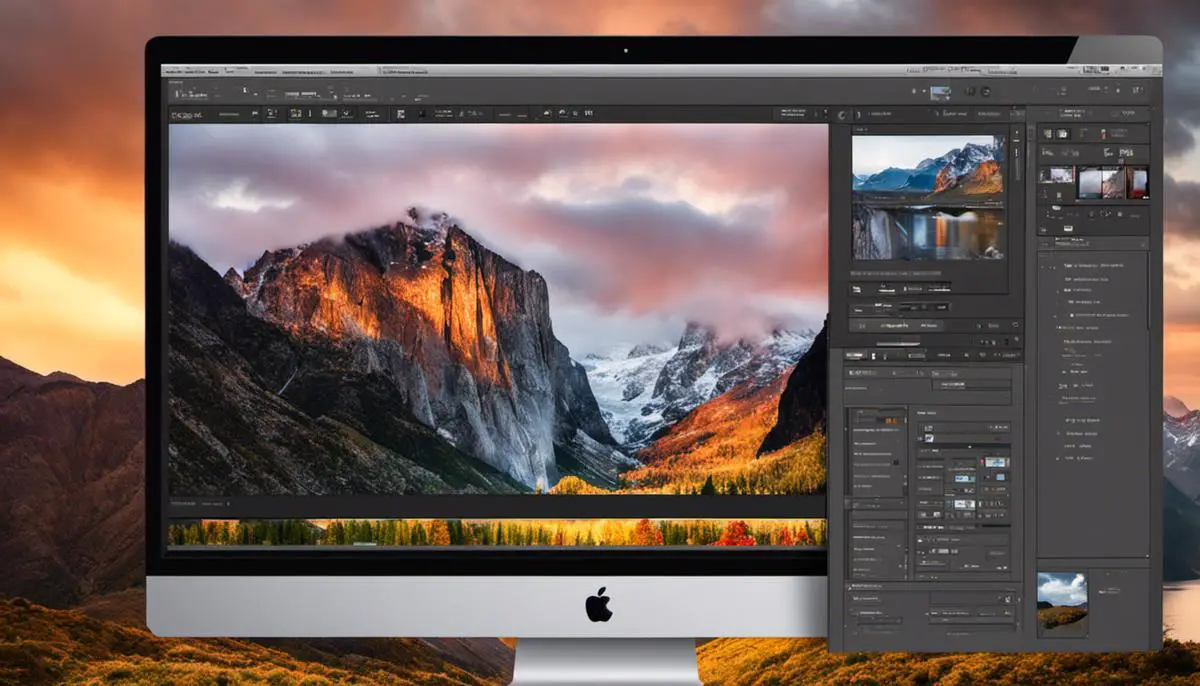
Getting Familiar with Lightroom Interface
The first step in understanding how to use Lightroom presets for architecture involves getting familiar with the Lightroom interface. There are three primary parts of the Lightroom interface: the left, right, and center panels. The left panel is where you navigate through your catalog of imported photos. The center panel displays the image you’re currently working on, and the right panel contains the adjustment tools necessary for editing photos.
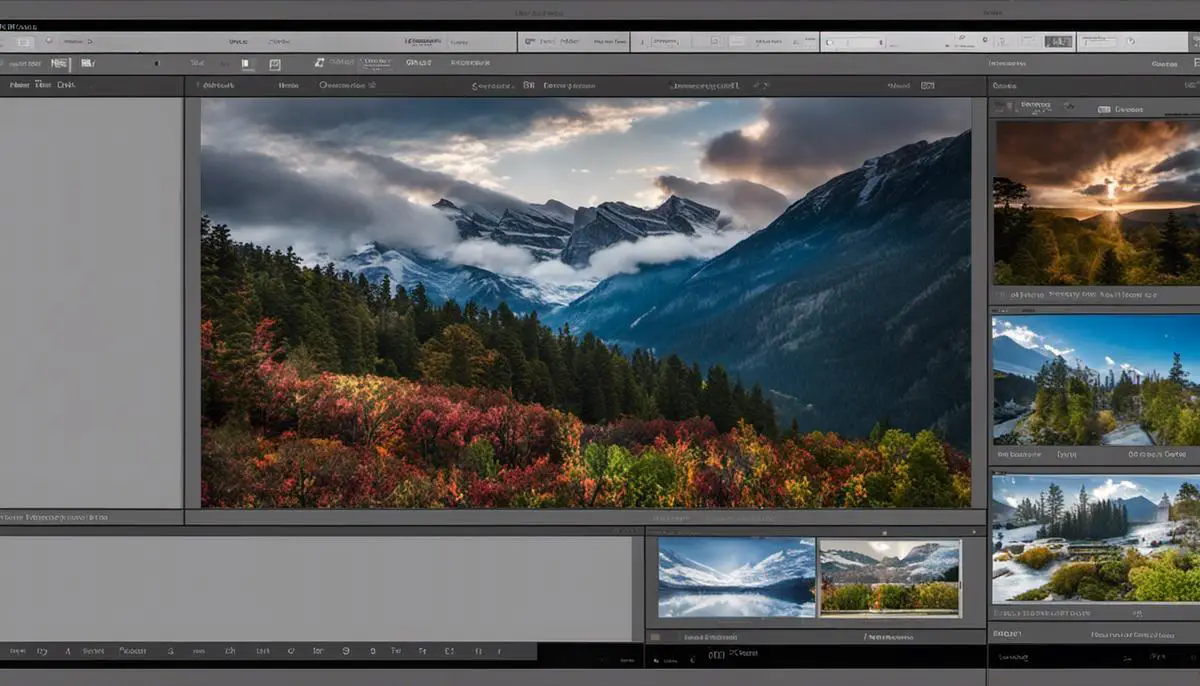
The Library and Develop Module
Lightroom’s Library and Develop modules play integral roles in managing and editing architectural photos. The Library module is where you organize, sort, and filter your photos. Meanwhile, the Develop module is where the magic of editing happens. This is the module where you make use of various settings and tools to enhance and transform your architectural images.
Importing Photos into Lightroom
To make use of Lightroom, you first need to import your architectural photos into the program. To do this, click the ‘Import’ button located on the bottom left corner of the screen in the Library module. A dialogue box will pop up, allowing you to navigate to the folder containing your photos. Select the photos you want to import, then click ‘Import’ on the right side of the dialogue box.
Organizing and Sorting Images
Once your photos are imported into Lightroom, it’s time to organize and sort your images. Within the Library module, you can assign ratings, colors, or flags to your photos, useful for organizing your photos based on their quality or content. For sorting the images, use the toolbar at the bottom of the Library module. You can choose to sort by capture time, added order, edit time, rating, and more.
Setting Up and Using the Primary Adjustment Tools
The Develop module is where all the primary adjustment tools are located. These include Tone Curve, HSL/Color, Black & White, Detail, Lens Corrections, Transform, and Effects. Each of these tools serves a specific purpose in adjusting various aspects of your architectural photos.
To use an adjustment tool, simply move the corresponding slider to the right to increase the effect or to the left to decrease it. For example, if you want to increase the contrast in your photo, locate the Contrast slider in the Basics panel and move it to the right. Keep adjusting until you get a look that you want. Remember, mastering editing in Lightroom is all about experimenting and practicing.
Now that you’re all set with the basics, you can start experimenting with the presets and find your individual style for your architectural photos.
Understanding Presets in Lightroom
Understanding Lightroom Presets and Their Importance
Adobe Lightroom presets are essentially a combination of editing settings that can be saved and applied to other photos, ensuring consistency and boosting efficiency. They hold a vital role in your workflow because they automate routine adjustments, leaving you more time for creative editing and improving your productivity.
How to Create a Lightroom Preset
- Open a photo in the Develop module and make the desired edits. This might involve adjusting exposure, contrast, color balance etc.
- Once you’ve made your changes, click on the ‘+’ icon next to the Presets panel.
- Select ‘Create Preset’ from the menu.
- A dialogue box will appear. Name your preset, choose a folder for it, and check the boxes next to the adjustments you want to include.
- Click the ‘Create’ button to save your preset.
Managing Your Lightroom Presets
- Open the Presets panel and click on the ‘+’ icon.
- Choose ‘Manage Presets’ from the drop-down menu.
- A pop-up window will appear showing all your presets. Here, you can choose to show or hide specific presets by checking or unchecking them.
Applying Presets in Lightroom
- Select a photo and go to the Develop module.
- In the Presets panel, hover over the presets you have to see a preview on your image.
- Click the preset you want to apply.
- If necessary, adjust any settings to tailor the preset to your photo.
Applying Presets in Architectural Photography
Understanding Lightroom Presets for Architectural Photography
Adobe Lightroom presets allow photographers to save time and effort by automatically applying a set of adjustments to their photos. For architectural photography, presets serve as powerful tools for bringing out the essential elements of a structure or building. These elements include dynamic range, color correction, perspective control, and tonal enhancement. Presets can either be custom-made or downloaded from professionals, helping to streamline your photo editing process and achieve consistent results.
Applying Lightroom Presets for Architectural Photography
To apply a Lightroom preset to your architectural photographs, follow these steps:
- Import your photo into Lightroom.
- Browse through the available presets in the Develop module. The list is located on the left panel under “Presets.”
- Click on the preset that you would like to apply to your photo. Immediately, you’ll be able to see a preview of the changes on your photo.
- If you are satisfied with the preview, click on the name of the preset again to apply it to your photo.
- Adjust the parameters if necessary. Depending on the preset you’ve chosen, you might want to tune elements such as exposure, contrast, highlights, shadows, whites, blacks, clarity, vibrance, or saturation.
Remember, a preset serves as a starting point. It might not be perfect immediately, as each photo is different. Make fine adjustments as needed to achieve your desired look.
Creating Custom Lightroom Presets for Architecture
To create a custom Lightroom preset for your architectural photos, follow these steps:
- Import a photo into Lightroom and apply desired adjustments, such as exposure, contrast, and color correction. Focus on the elements you want your architectural photos to enhance, like a building’s distinct lines or unique color scheme.
- If you’re happy with the settings, save them as a new preset. Click on the “+” icon in the Presets panel, then select “Create Preset.”
- Name your new preset and choose the settings you want to include. Here, you can specify, for instance, whether you want your preset to apply adjustments to the overall tone or just to specific colors.
- Click “Create,” and your preset will be added to your list for future use.
Explore Various Presets for Different Architectural Moods and Styles
There’s a myriad of Lightroom presets available for architectural photography that can match different moods and styles. Some presets emphasize dramatic colors and contrasts that emphasize a building’s unique design, while others soften tones for a more vintage or historical feel. Some presets provide a high dynamic range, effective for bringing out details in shadows and highlights in architectural scenes.
Remember, presets are there to make your post-processing more efficient and consistent, but they are not a one-size-fits-all solution. Feel free to create and modify presets based on your own aesthetic judgments and creative vision.
Designing Unique Presets for Architecture
Understanding Adobe Lightroom Presets
Adobe Lightroom is a powerful tool for photographers, especially those focusing on architectural photography. This software allows you to manage, edit, and share your photos effectively. One of the great features of Lightroom are the “presets” – saved settings combinations that you can apply to any photo with just one click. This way, you can easily apply a consistent look to all your photos and save considerable time in the editing process.
Creating Custom Lightroom Presets for Architecture
Here’s how you can create your own unique presets for architectural photography in Lightroom:
- Start by importing a photo: Locate the import button at the bottom of the left panel. Once your photo is imported, click on it to start editing in the Develop module.
- Play around with settings: To create a preset, you need to choose a combination of settings that suits your style. Start by adjusting the exposure, contrast, highlights, and shadows. These basic adjustments can make a significant difference to the overall look of your photo.
- Experiment with tone curves and color grading: The tone curve is a powerful tool that can add depth and contrast to your image. You can create an ‘S’ curve for more distinct contrast. In the color grading panel, play around with different hues and saturations for the shadows, midtones, and highlights of the image. Remember, subtle changes often work well for architectural photography.
- Tweak the details: Adjusting clarity, vibrance, and saturation can increase the sharpness and enrich the colors of the buildings. For architectural photos, enhancing texture and clarity can bring out the intricate details.
- Finishing touches: Incorporate effects like vignetting or adding grains to give a different dimension to the photos. Remember, the objective is to create a unique look that aligns with your photography style.
UNLIMITED DOWNLOADS:50+ Million Lightroom Presets & Design Assets
All the Lightroom Presets you need and many other design elements, are available for a monthly subscription by subscribing to Envato Elements. The subscription costs $29 per month and gives you unlimited access to a massive and growing library of over 50 million items that can be downloaded as often as you need (stock photos too)!
Saving and Applying Your Preset
Once you’re satisfied with your adjustments:
- Go to the Presets panel on the left side, and click on the ‘+’ button.
- Choose ‘Create Preset’.
- Give your preset a name and choose a folder for storage.
- Check all the boxes for settings you want to include in the preset.
- Click ‘Create’.
The new preset will become available in the Presets panel under the folder you chose. You can now apply this unique setting to any other photo with just one click.
Maintaining Consistency
One of the key benefits of using presets is the consistency they provide. Applying the same preset to a series of architectural photos can help to maintain a consistent aesthetic and style, which is particularly important when presenting a photo series or creating a portfolio.
Remember, presets are just a starting point. You can always make additional adjustments to each photo after applying the preset to ensure the best result. This balance between efficiency and individuality is what makes presets such a valuable tool in Lightroom.

Understanding Lightroom’s vast utility and mastering architectural presets are stages in a journey towards true proficiency in architectural photography. By harnessing the full potential of these tools, not only can one realize a seamless and efficient post-production process, but also find their unique signature style. It’s about taking a raw image and transforming it into something that not only captures the architectural essence but evokes an emotional reaction, portraying the story behind the structures. Ultimately, it is less about just capturing buildings and more about conveying perspective, atmosphere, the subtle nuances of the space – and sending powerful visual messages using Lightroom presets is one of the most effective ways to achieve this.