Wireless technology has reshaped how we connect devices, offering a simpler way to share and manage content. This article will guide you through setting up your Canon camera for wireless transfers to your computer or smartphone, ensuring a smooth and efficient process. With straightforward steps, you can enjoy the convenience and speed of wireless sharing, keeping your memories safe and easily accessible.
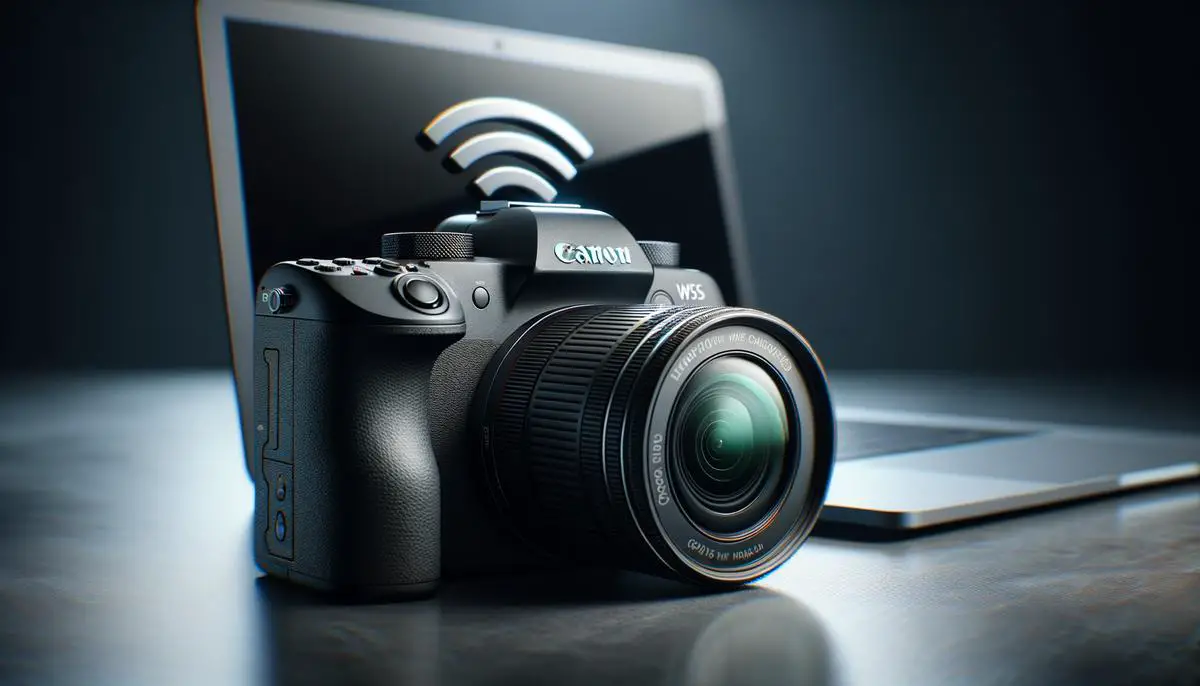
Setting up Your Canon Camera for Wireless Transfer
Preparing Your Canon Camera for Wireless Photo Transfers
Wireless photo transfer is a convenient way to move pictures from your Canon camera to your computer or smartphone without the hassle of cables. Here’s how to get your Canon camera ready for wireless transfers:
1. Check Compatibility:
First, ensure your Canon camera supports wireless connectivity. Most recent Canon models have built-in Wi-Fi or Bluetooth. Refer to your camera’s manual or the Canon website for your model’s specifications.
2. Charge Your Camera:
Ensure your camera’s battery is sufficiently charged. Wireless transfers can consume more power than usual operations.
3. Activate the Camera’s Wireless Function:
Turn on your Canon camera. Navigate to the camera’s menu, find the wireless communication settings, and activate the Wi-Fi/Bluetooth function. This process might slightly differ across models, so consult your manual if necessary.
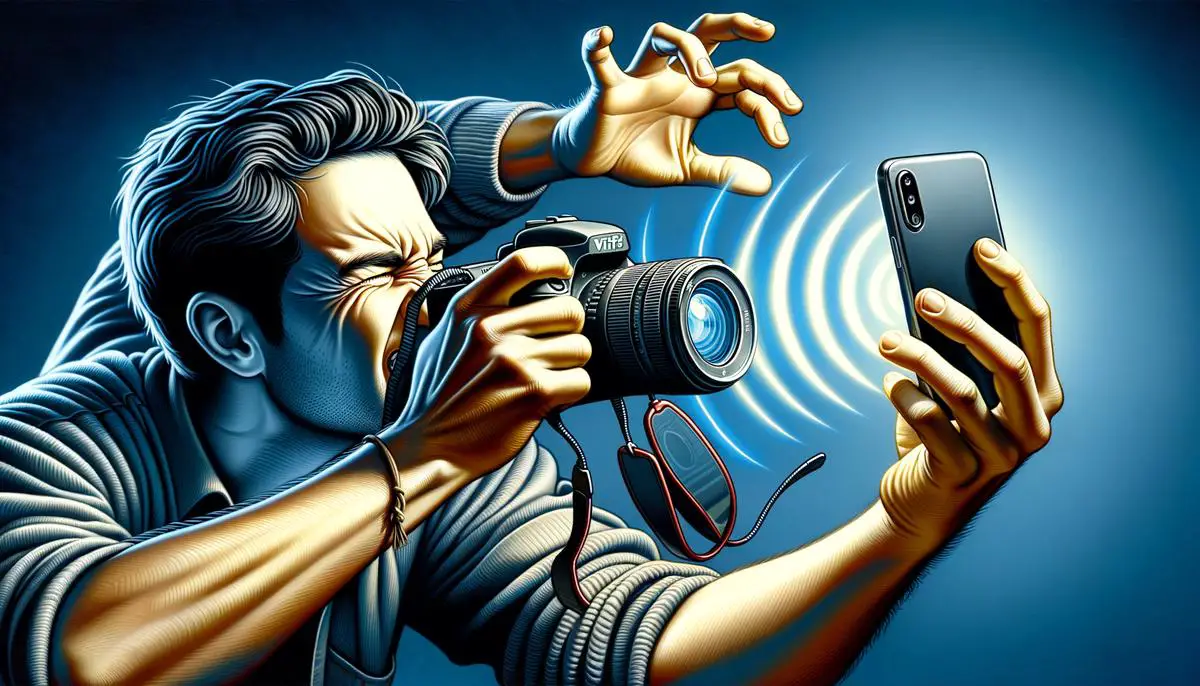
4. Install the Canon Camera Connect App:
On your smartphone or tablet, download and install the Canon Camera Connect app from the App Store or Google Play. This free app facilitates the connection and transfer process.
5. Connect Your Camera to Your Device:
Open the Canon Camera Connect app on your smartphone or tablet. Follow the app’s instructions to detect your Canon camera. You might need to select your camera’s Wi-Fi network in your device’s Wi-Fi settings. Enter the password shown on your camera’s display if prompted.
6. Start Transferring Photos:
Once your camera is connected to your device, you can browse your camera’s photos through the app. Select the images you wish to transfer and download them to your device. You can now view or share your photos without needing a cable.
7. Disconnect Properly:
After transferring your photos, properly disconnect the wireless connection through the app or by turning off your camera’s wireless function. This conserves battery life and secures your camera’s network.
This step-by-step guide simplifies the process of preparing your Canon camera for wireless photo transfers. Enjoy the convenience of sharing your images quickly and wirelessly.
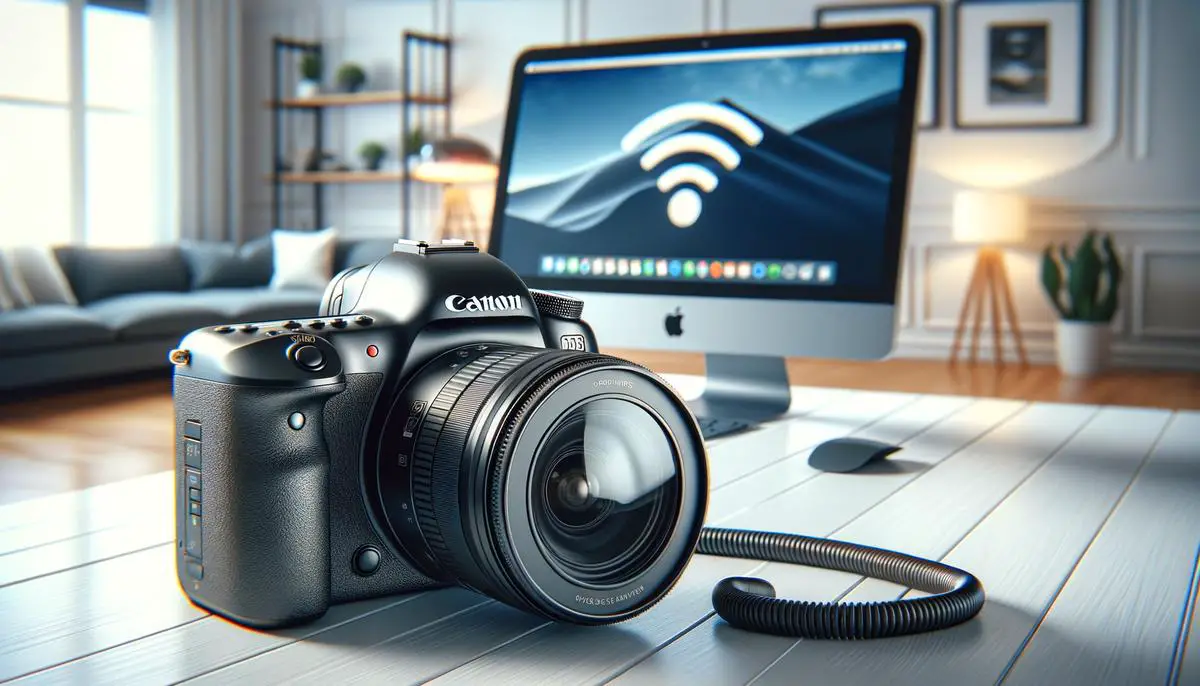
Connecting Your Canon Camera to Your Mac
Setting Up Your Camera for Initial Use
Once you’ve ensured your Canon camera is compatible and fully charged, and you have activated its wireless functionality while having the Canon Camera Connect app installed on your Mac, you’re ready to proceed. The initial setup is straightforward but requires attention to detail to ensure a seamless connection.
Change Network Settings on Your Camera
- Navigate to your Canon camera’s menu and find the ‘Wi-Fi settings’ or ‘Wireless communication settings’.
- Select ‘Enable’, making your camera’s network discoverable.
Ensure Your Mac is Ready to Connect
- On your Mac, click on the Wi-Fi icon located at the top right corner of the screen.
- Ensure Wi-Fi is turned on and your Mac is not set to ‘Airplane mode’ or any setting that disables wireless connectivity.
Connect Your Camera to the Wi-Fi Network
- Still in the camera’s Wi-Fi settings, select the option to connect to a network.
- Your camera might prompt you to either connect using a Wi-Fi network or to connect directly to a device. Choose to connect using a Wi-Fi network.
- Your camera will search for available networks. Select your home network (or the network your Mac is connected to) from the list.
- Enter the Wi-Fi password when prompted and wait for the connection to establish.
Linking Camera to Mac via the Canon Camera Connect App
- Open the Canon Camera Connect app on your Mac.
- The app will search for cameras connected to the same Wi-Fi network. Select your camera from the list that appears.
- A prompt might appear on your camera asking you to confirm the connection to your Mac. Confirm it.
Start Transferring Your Photos and Videos
- Once connected, you can browse the photos on your camera directly from the Canon Camera Connect app on your Mac.
- Select the photos or videos you wish to transfer.
- Choose the destination folder on your Mac and start the transfer process.
Remember, if your Canon camera or the Canon Camera Connect app offers an option to synchronize automatically, enabling this feature can save you time for future transfers.
By following these steps, you can effortlessly connect your Canon camera to your Mac wirelessly, allowing you to transfer photos and videos without the need for physical cables. This setup not only simplifies the process of transferring content but also makes it more efficient to manage your digital media library on your Mac.
Transferring Photos Using Image Transfer Utility
Continuing from where we’ve left off, it’s critical to understand the nuanced steps that follow for an effortless experience with Canon’s Image Transfer Utility for sending photos wirelessly to your Mac. The steps here are designed to weave seamlessly with what has been established, gearing towards a streamlined process. Let’s dive into the subsequent phases:
Finalizing the Connection:
- Launch Image Transfer Utility on Your Mac: After ensuring that the Canon Camera Connect App is functioning and your photos are ready to be transferred, open the Image Transfer Utility installed on your Mac. This application acts as the final bridge, receiving images sent from your camera.
- Verify Connection in Image Transfer Utility: Look for an indication or notification within the Image Transfer Utility that your camera is connected. This confirmation is key to ensuring that the pipeline for photo transfer is not just open but also secure and ready for data transmission.
Automating Future Transfers:
- Configure Automatic Transfers: Within the Image Transfer Utility, navigate to the settings or preferences section. Here, you’ll find options to automate the transfer process. This can range from transferring photos at specified intervals to doing so whenever your camera and Mac are connected to the same network.
- Select Destination Folder: Part of automation involves designating a consistent location on your Mac where all incoming photos will be stored. Choose a destination folder that’s both easy to remember and accessible. This simplification ensures your photos are not just arriving automatically but also organized in a manner that makes them easy to find.
Managing Your Transfers:
- Review Transfer History: Periodically check the transfer history within the Image Transfer Utility. This lets you confirm that transfers are occurring as planned and allows you to troubleshoot any issues that may arise unexpectedly.
- Adjust Settings as Needed: Depending on your changing needs or adjustments in your workflow, don’t hesitate to revisit the settings in the Image Transfer Utility. Tweaking these can ensure that the tool remains a robust solution for your photo transfer needs.
Conclusion:
Following these outlined steps ensures a hassle-free experience in wirelessly sending photos from your Canon camera to your Mac using Canon’s Image Transfer Utility. From finalizing the connection to automating the process, each phase is designed to contribute towards a seamless, efficient workflow. Remember, the key is in the details, and managing your preferences effectively can transform this from a mundane task into a background process that works tirelessly for you.

By adhering to the outlined steps, you’ve positioned yourself to leverage wireless technology effectively, making photo transfers from your Canon camera to your Mac both effortless and time-efficient. Embracing this setup not only streamlines the management of your digital photo library but also enriches your experience with your Canon camera. Let the simplicity and efficiency of these methods inspire you to capture more moments, knowing they can be easily shared and enjoyed.